Posts

Showing posts from 2010

Happy New Year

Image
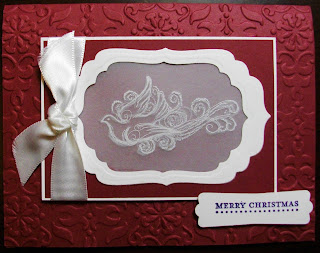
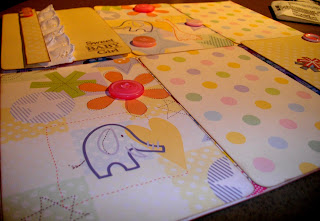
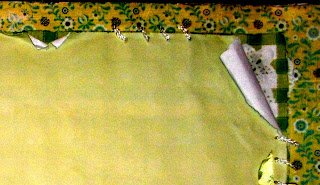
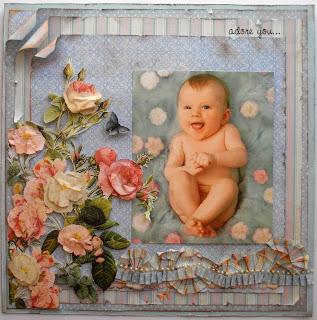
I had a very quiet, but wonderful Christmas, and hope you all did too!!! I certainly have missed my blogging....  and all you wonderful fellow craft lovers!!!! Isn't it a busy time..... even when we're not really doing anything, it seems so busy, I guess just because everyone around is so busy. You kinda get swallowed up in all the hustle bustle of your surroundings. It's almost 2011, I can hardly believe it.  I remember in the 80's - my teenage years.....  we actually thought that we'd be flying around in mini versions of space ships, instead of cars by the year 2000.  Anyone out there believe that way back then too????  Us crazy 8's kids....... Anyway, enough yapping, I just wanted to share the cards I made since I last blogged. They were all done at a card making demo through stampin up, which I thoroughly enjoyed - even though I'm not really a card maker, but prefer scrapping 12x12's.  Thanks Agnes Fusey for the wonderful ideas and all the

iT's ThE sEaSoN tO bE jOLLy, Tra La La La Laaahh.....Laaahh.....La La La La!

Image
It seems like forever since I've blogged, and since I've done any scrapping. Last night I sat at the table, not having any motivation, or any idea of what I wanted to do.  Just trying to keep myself amused while the boys of the family watch those dreaded "guy" shows... as always..... A few days ago I had been to the local scrapping shop here in FMM, and bought some Christmas stuff that tickled my fancy. I'm terrible when it comes to taking photo's at Christmas time, but this year, I really am going to make an effort to carry the camera around so I can snap up some memorable moments, and there are soooo many during this wonderful season......   Not only is the sparkly white landscape absolutely gorgeous, but the presence of the Holy Spirit is so tangible all around us.  I can almost visualise the angels celebrating the birth of our saviour, Jesus Christ, singing and dancing in praise and worship, not only up in the heavens, but right here, amongst all o

MoRe BeAuTiFuL pApEr

Image
oh my word!!!  i found some more gorgeous paper from K&Company....... here's two pages i made yesterday..... sorry they're  not the best pics, don't know what's up with this camera?.....  Anyway, almost weekend....... yippee!!!! have a great day everyone!

k&CoMpAnY

Image
I JUST CANNOT GET ENOUGH OF THIS PAPER!!!!

jUsT 3 mOrE.....

Image
just three more to share for now..... I just love this paper range from K&Company..... That's it for now, and the weekend is almost over..... Take care and be blessed!!!!

BaCk iN aCtIoN....

Image
Just a quick blog to show everyone what I've been up to as far as my scrapping world goes..... considering most of my stash and tools are in the container still en-route from Australia to Canada..........   They're all going onto e-bay, and I'm hoping I'll get some new clients, as wonderful as my clients I had in Australia!!!!  Miss you ladies, and especially my crazy scrapping buds from Geelong!!!!! Take care, and have a great weekend everyone!!!!

hAvInG wItHdRaWaLs

Image
I think I'm having major withdrawal symptoms here, not being able to scrap with our move happening early next week.  I've packed all my precious supplies up and sitting on my hands......  trying to tie up all those precious moving "have to do's"......  This is going to be my last blog while we're here in Australia, I'll post something from Canada next....  Probably a "snow page..."!  Once my stash arrives that side......  Aaaaaannnnyway, I thought I'd just quickly share one of the last pages I did for e-bay before I packed up my stash.... can't remember if i've added these two below yet....  oh well, if i did, sorry! Till later! b

FiRsT sTeP bY sTeP

Image
Adore You… Layout Step By Step I have used 6 sheets of Grant Archival  paper in this layout, (from Big W) A self adhesive string of pearls, Double sided tape 3D mounting blocks Brown mini inking pad Paper trimmer, craft knife, scalloped scissor and scissors 1. Choose the 4 sheets of background paper you wish to use in the layout, and trim and distress the edges. I have used the plain blue for the bottom layer, I have used an edge distresser, but you could also use the blade of your scissor. Once the edge has been distressed to your liking, rub the edges of your page with your brown mini ink pad until desired effect is acquired. 2. Trim the second bottom page (I used the blue and white dots) by half an inch on two sides. Distress and ink as you did with the previous page, as above. 3. Trim the third layer (I used the pink and blue striped paper) by an inch on two sides. Distress and ink as with the previous two pages. 4. Trim the top background page by two i